How to Sear Meat (for a Deep Brown Crust)
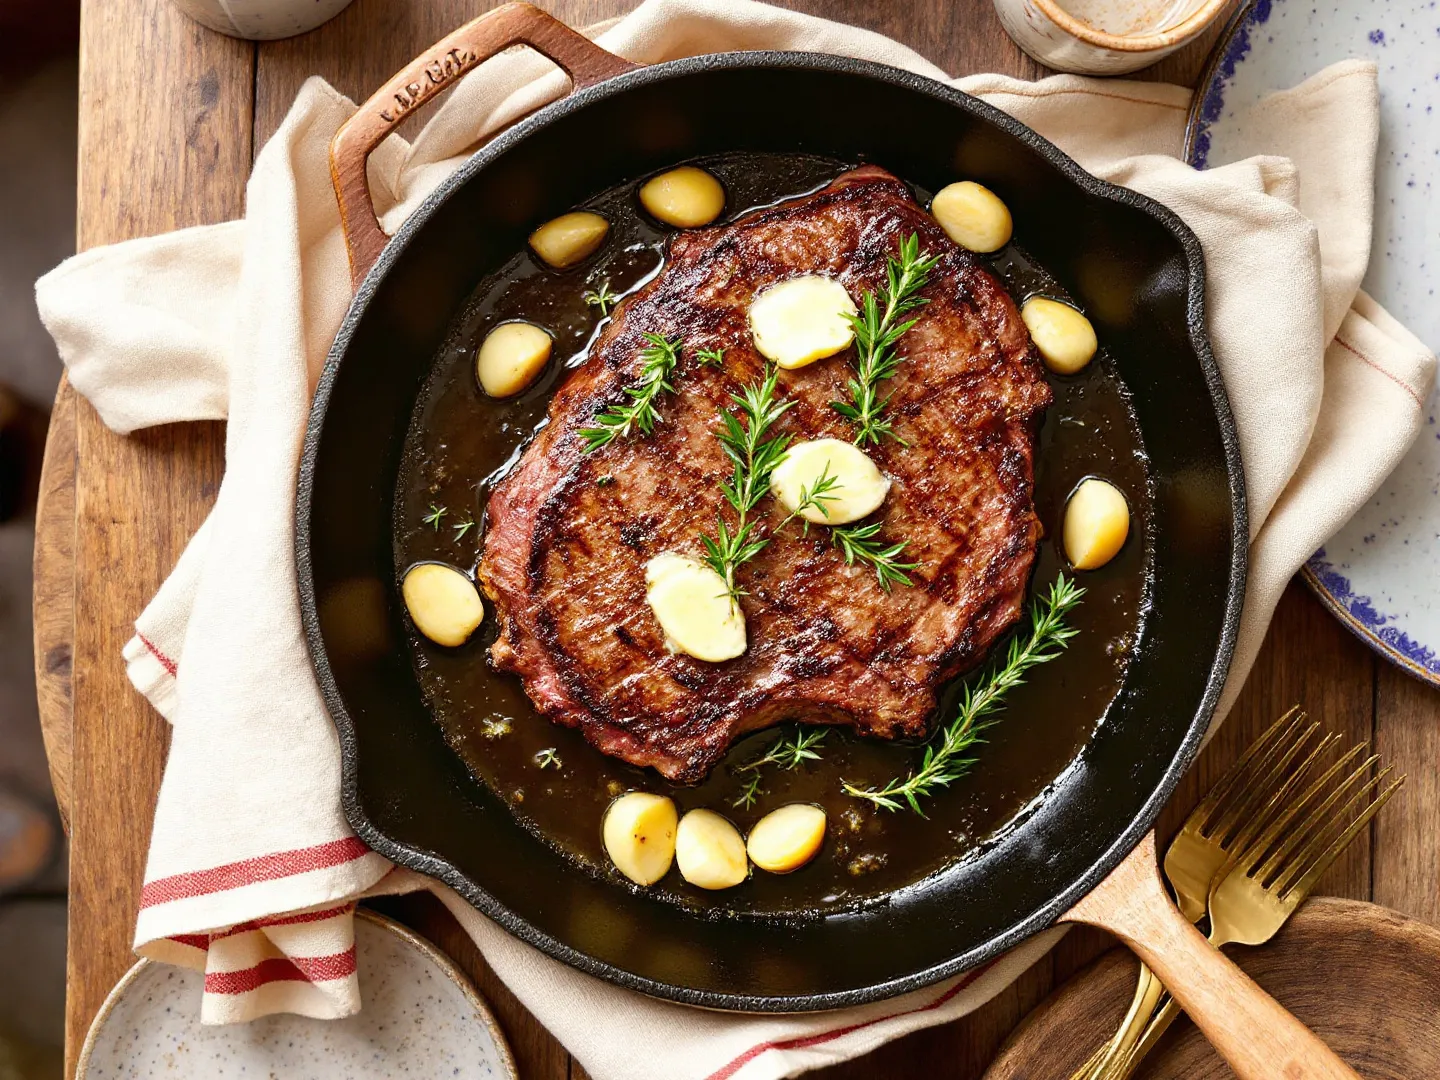
Searing is mostly the art of leaving something alone. A dry piece of meat, a very hot pan, and the willpower not to poke it, which is harder than it sounds with Uncle Sal standing at your elbow asking if it's done yet.
The short version
Salt the meat ahead, pat it very dry, and lay it in a heavy pan with a thin film of oil heated until it just starts to smoke. Leave it until it releases on its own with a deep brown crust, 2 to 4 minutes a side, then finish it on lower heat or in the oven and check the inside with a thermometer.
What searing does (and doesn't do)
Searing browns the outside of meat in a hot pan. The browning reaction between proteins and sugars at high heat creates hundreds of flavor compounds, which is why a seared steak tastes meaty and roasty while a boiled one tastes like, well, boiled meat. Browning starts in earnest around 300°F, and water boils at 212°F. So any water on the surface has to evaporate before a crust can form. That's the whole game: a dry surface and enough heat.
What searing doesn't do is "seal in the juices." That old idea has been tested plenty: seared meat loses about as much moisture as unseared meat. You sear for flavor and texture. Juiciness comes from not overcooking it, which is the thermometer's job.
Before the pan
- Salt early. Salt meat at least 45 minutes ahead, or up to 2 days ahead uncovered on a rack in the fridge (dry-brining). Salt first pulls out moisture, then dissolves into it and soaks back in. The meat is seasoned through, and the surface dries out so it browns faster. If you only have a few minutes, salt right before cooking instead; the in-between window leaves the surface wet.
- Pat it dry. Press paper towels firmly on every side. Do this even after dry-brining.
- Take the chill off if you like. Twenty to 30 minutes on the counter helps thin cuts cook evenly. Don't leave raw meat out longer than an hour.
- Thaw completely. Frozen or half-frozen meat sheds water into the pan and steams. Thaw it overnight in the fridge.
The right pan and fat
Use a heavy pan that holds heat: cast iron, carbon steel, or thick stainless steel. Thin pans and nonstick pans lose too much heat the moment the meat goes in, and nonstick coatings shouldn't be heated that hot anyway.
For fat, use a thin film of an oil that can take the heat: vegetable, canola, peanut, avocado or refined sunflower. Butter and extra-virgin olive oil burn at searing temperatures. If you want butter flavor, add it near the end, once the heat comes down, and spoon it over the meat.
Turn on the vent fan, and maybe open a window. Good searing smokes a little.
How to sear, step by step
- Heat the empty pan over medium-high for 3 to 5 minutes. A drop of water should skitter around and vanish in a second or two.
- Add 1 to 2 teaspoons of oil and swirl. When it shimmers and the first wisp of smoke rises, it's ready.
- Lay the meat in, away from you. Leave at least an inch between pieces; if they don't all fit, sear in batches. It should sizzle loudly right away. If it's quiet, the pan isn't hot enough.
- Leave it alone for 2 to 4 minutes. When the crust is deep brown, the meat lets go of the pan without tugging. If it sticks, give it another 30 seconds.
- Turn it and sear the other side. For thick cuts and roasts, hold them with tongs to brown the edges and fat cap too.
- Finish the cooking. Thin cuts may be done already. Thicker steaks and chops can go into a 400°F oven, or stay on medium heat, flipping every minute, until they're 5 degrees below your target. Meat for a braise just comes out and waits.
- Rest steaks, chops and roasts 5 to 10 minutes. Then pour off most of the fat and make a pan sauce from the browned bits.
Doneness and safe temperatures
Check the thickest part with an instant-read thermometer. Pull the meat about 5 degrees early, because it keeps cooking as it rests. Safe minimums are for whole cuts of beef, pork, lamb and veal unless noted; the USDA recommends a 3-minute rest after whole cuts reach temperature.
| Meat | Pull at | Ends up at | Notes |
|---|---|---|---|
| Steak or lamb (rare) | 120°F | 125°F | Below the USDA minimum. Your call, and only for whole cuts. |
| Steak or lamb (medium-rare) | 130°F | 135°F | Below the USDA minimum. The usual steak-house pick. |
| Steak or lamb (medium) | 140°F | 145°F | Meets the USDA minimum for whole cuts. |
| Pork chops and tenderloin | 140°F | 145°F | Safe, juicy and faintly pink. |
| Chicken breast or thighs | 165°F | 165°F | USDA minimum for all poultry. Thighs are more tender taken to 175°F. |
| Duck breast | 135°F | 140°F | Usually served pink, below the USDA poultry minimum. Cook to 165°F to follow it. |
| Burgers and ground meat | 160°F | 160°F | Ground meat has no safe pink. Cook it through. |
Searing for stews and braises
Browning meat before a long simmer adds a deeper, roastier flavor to beef stew with chuck and red wine, classic pot roast with vegetables and beef bourguignon with bacon, mushrooms and pearl onions. Cut the meat into big chunks (2 inches or more), dry them well, and sear in batches without crowding, so each piece browns on at least two sides. Don't worry about cooking them through; they have hours ahead of them.
The dark crust on the bottom of the pot is where the flavor waits. When you add onions, wine or stock, scrape it all up. If the bottom turns black instead of brown, lower the heat for the next batch and wipe out the burnt bits; they'll make the whole pot bitter.
Short on time? Brown only half the meat. You get most of the flavor for half the effort.
Common mistakes
- Wet meat. Water has to boil off before anything browns. Pat it dry, every time.
- Crowding the pan. The pan cools, the meat steams, and you get gray meat sitting in its own juice. Cook in batches.
- A pan that isn't hot enough. No loud sizzle means no crust. Wait for the oil to shimmer.
- Moving it too soon. If it sticks, the crust hasn't formed. It will release when it's ready.
- Using butter or extra-virgin olive oil from the start. They burn before the meat browns. Add butter at the end.
- Skipping the thermometer. Timing charts are a guess. The thermometer is a fact.
- Slicing right away. Resting lets the juices settle back in, so they end up in the meat instead of on the board.
Questions, answered
Does searing meat seal in the juices?
No. Seared meat loses about the same amount of moisture as unseared. Searing is for flavor and crust; the thermometer is what keeps meat juicy.
What oil is best for searing?
A neutral oil with a high smoke point, such as vegetable, canola, peanut or avocado. Save butter for basting at the end.
How do I know the pan is hot enough to sear?
Heat the dry pan for a few minutes, add oil, and wait until it shimmers and just starts to smoke. The meat should sizzle loudly the second it touches the pan.
Should I flip steak once or many times?
Either works. One flip gives a classic thick crust. Flipping every minute after the first sear cooks the inside more evenly and slightly faster.
What is reverse searing?
Cooking a thick steak or roast gently first, in a 250°F oven, until it's about 10 degrees below target, then searing it hard in a hot pan. You get edge-to-edge even pink and a crust in under 2 minutes a side.
Published November 9, 2026.